
The Aeropress has gone from being an obscure coffee brewing contraption to a cultural institution in just a few years.
Today there are national and international championships, countless crowdsourced recipes, and even viral phenomena like the #milehighaeropressclub.
Sidenote: Look it up on Instagram, if you want to see how creative coffee people can be!
But there’s also a dark side to the AeroPress… one you usually don’t read about in the glossy barista magazines.
The truth is that a lot of amateurs, as well as professionals, couldn’t brew a proper Aeropress, even if their life depended on it.
I have had quite a few friends confess to me that the brewer ‘just didn’t do it for them.
And to be honest, I’ve even been there myself.
The Aeropress can be used in a multitude of ways. But that also means that you can mess it up in even more ways.
In this article, I’ll zoom in on every little detail of this fascinating brewing device — from the history to the latest trends at the World Championship as well as advanced Aeropress instructions.
HISTORY OF THE AEROPRESS
Like most awesome things in the world, the Aeropress started out as a slightly crazy idea inside the head of an unusual man.
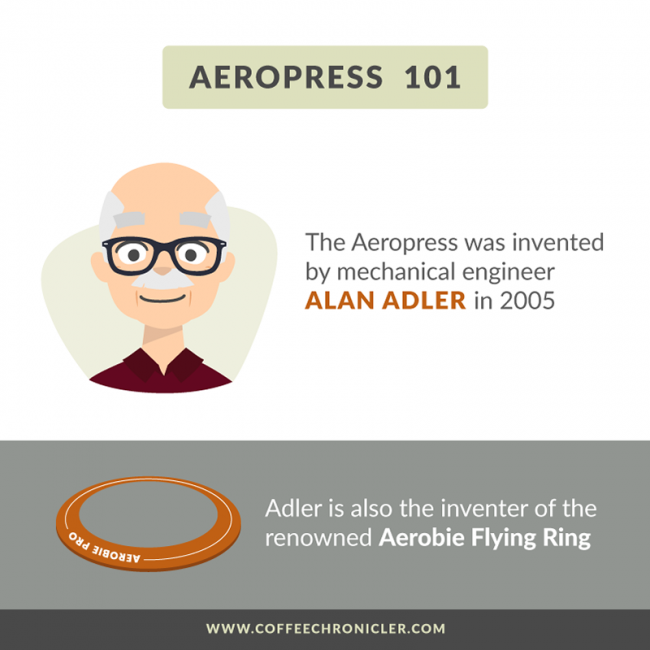
Alan Adler, an inventor, and mechanical engineer didn’t set out to create a commercial product. Rather, he was just looking for a way to simplify coffee brewing.
Before then Adler’s main claim to fame was that he had invented the ‘Aerobie Flying ring’ – a revolutionary kind of flying disc that could be thrown much farther than a traditional frisbee.
But in 2003 Adler began experimenting with coffee brewing. One of the first things he started to look into was the water temperature. Adler preferred coffee brewed with a temperature around 175°F/80°C and so did most of his subjects. This goes against a lot of traditional coffee wisdom, where the water is closer to a boil.
At that time, Adler was mainly brewing pour over coffee, and he realized that something might be gained if the brewing could be speeded up using air pressure.
Adler made a bunch of different prototypes for the pressurized coffee maker. He even made one powered by a bike pump.
Eventually, he invited the general manager of Aerobie, Alex Tennant, to have a sip from what would eventually become the final version.
“Alan, we can sell millions of these,” he blurted out upon tasting the brew. It took another two years before the product hit the market in 2005. But since then, the direction has only gone one way for the Aeropress.
At age 78, Adler decided that it was time to retire. In 2017 he sold off the toy-making division of Aerobie. The coffee department was for sale for a while, but eventually, Adler and his wife, Irene, decided to retain ownership.
In late 2019 Aerobie released the first new coffee product in years; the AeroPress Go.
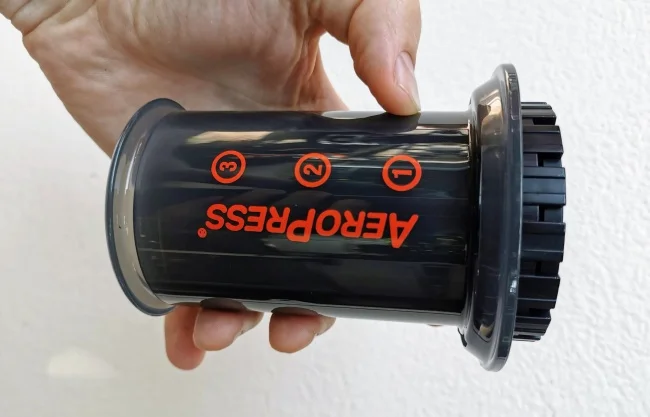
WHAT is THE Aeropress go?
The Aeropress Go represents the most significant update design-wise in the history of the device. The new model was released in the end of 2019.
The ‘Go’ is a version created with the frequent traveler in mind. It’s smaller than the original, and it comes with a carry case that also functions as a cup.
Check out my full review of this cool little device.
basic Aeropress techniques
The Aeropress was Alan Adler’s way of being able to control more of the parameters compared to using an espresso machine. But in fact, he created a brewing device with more options than any other out there.
You can literally do everything with the contraption. Let’s take a look at some of the more common techniques. Also, be sure to check out the video above, where I go through some easy wins that you can implement right away in order to make better coffee.
#1: inverted method or normal?
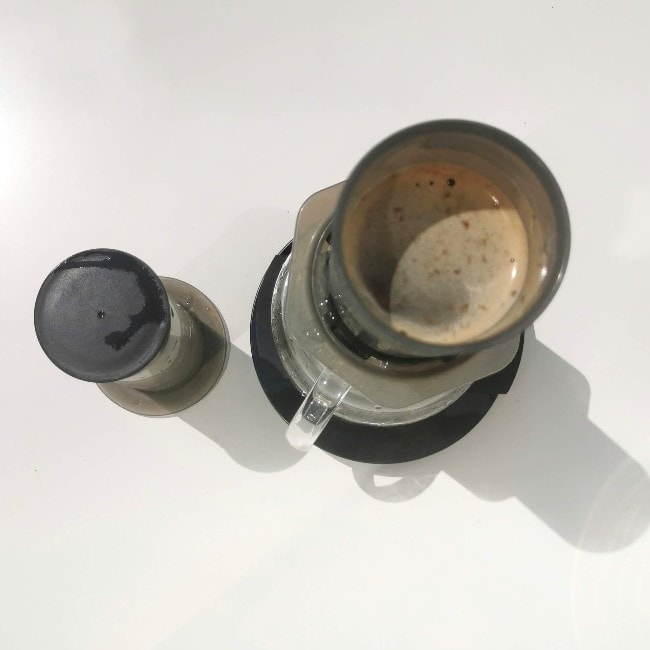
The first big question you have to ask yourself, is whether you want to brew like Alan Adler intended or you want to use the ‘inverted’ method aka upside-down (picture to the right).
The people in the inverted camp believe that it offers better control over the extraction since no coffee is allowed to drip out. Of course it also looks pretty darn cool, when a barista flips over the brewer.
Not everybody is convinced, though. Some people don’t like the idea of the coffee resting on the rubber gasket and think it could impart a bad flavor to the coffe
#2: low temperature
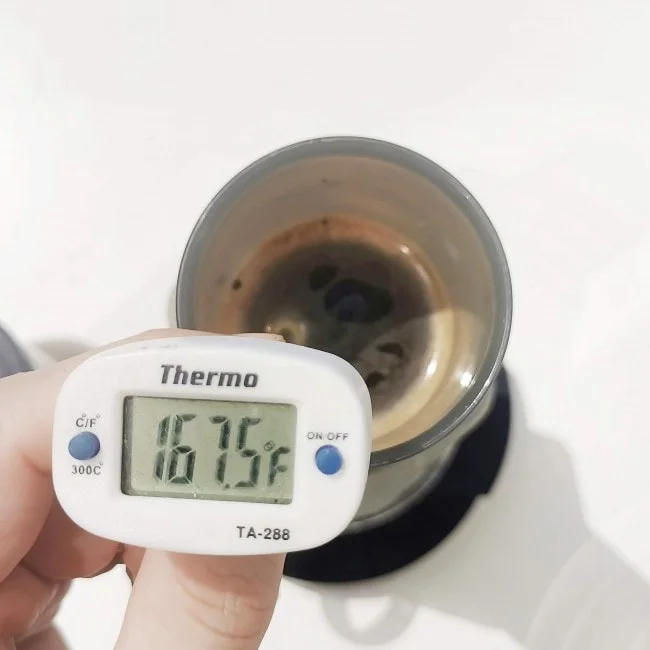
Alan Adler prescribed 175°F as his ideal temperature, but this goes against mainstream coffee brewing dogma.
For years, 200°F has been seen as the ideal – and it still is when it comes to brewing espresso or pour over.
Among aero-aficionados however, it is common to brew at rather low temperatures.
#3: blooming
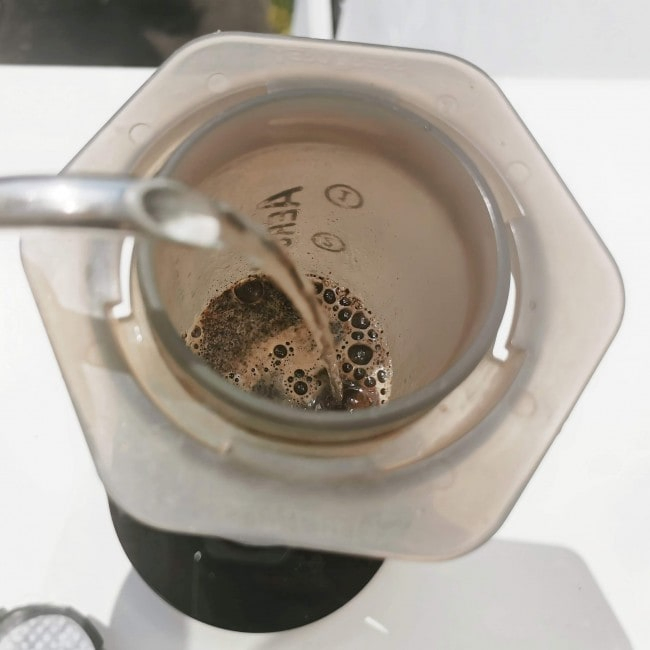
This is originally a technique from pour over coffee.
Blooming ensures even extraction and makes channeling less likely to occur.
It also allows carbon dioxide to escape from beans before proper brewing begins.
Blooming is simple. Carefully pour 2-3 x coffee weight; then wait for 45 seconds.
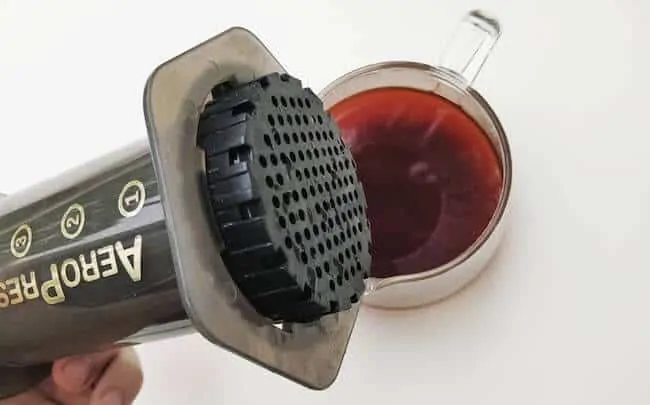
#4: discarding the slurry
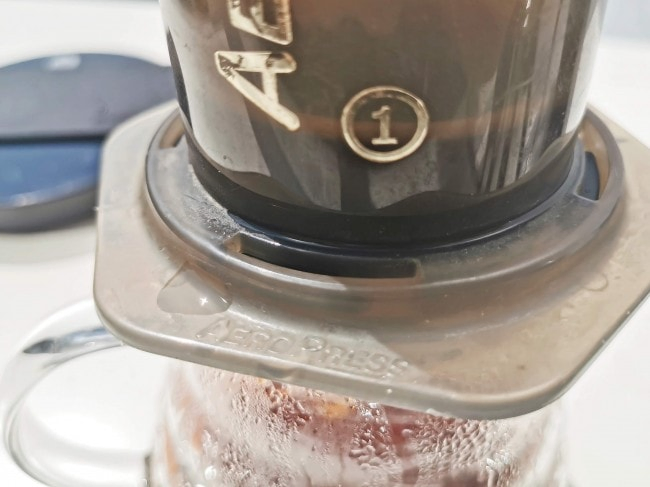
When the water is just below the ‘1-mark’, finish the brew instead of pressing all the way through.
The idea is that by pressing the coffee puck and the last brew water you may extract a lot of unwanted molecules. By not including it in the final brew you can avoid bitterness or off-flavors.
Discarding the slurry is considered best practice today.
A lot of aero-baristas like to stop right when they hear a ‘hissing’ sound, others may use visual cues.
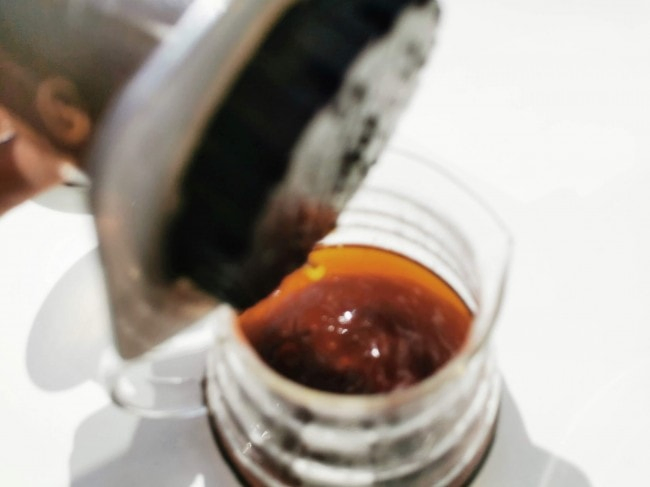
#5: dilution
Recipes that call for dilution are quite common with this brewer. Especially, among the world champions.
Brew an ultra strong beverage and then add hot water to create a more ‘transparent’ flavor profle. In many ways, this is similar to brewing an americano.
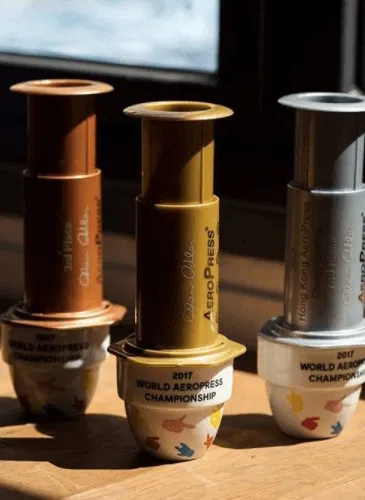
lessons from the world champions
The first international championship took place in Norway in 2008. Not because Adler and his company created it, instead it happened organically. Norwegian coffee-guru Tim Wendelboe was one of the main initiators.
The first world championships just had three participants but in the following years it quickly grew into something much bigger.
Today, there are national competitions all across the world. The national champion will earn the right to compete at the World Championship.
(If you’re curious you can read my interview with a previous winner of the Danish nationals here.)
finding the best aeropress method
While the W.A.C. is more down-to-earth compared to the World Barista Championship, it’s still fiercely competitive.
This means that we can learn quite a lot by studying the champions and their best recipes. In fact, quite a few new techniques have been introduced on the world stage at these competitions.
So what does it take to make an aero-brew like the champions? Read on to find out..
The ideal aeropress ratio
One of the most important things when brewing any kind of coffee is the so-called brew ratio.
The brew ratio is the relationship between the amount of coffee and water used. So a 1:18 brew ratio, for example, would mean that for every unit of coffee, you’d have 18 units of water. This particular ratio is what the SCA calls the ‘Golden Cup Ratio’ (source).
Personally, I find this to be a bit thin so instead, I’d usually opt for around 1: 15 as my ideal Aeropress ratio.
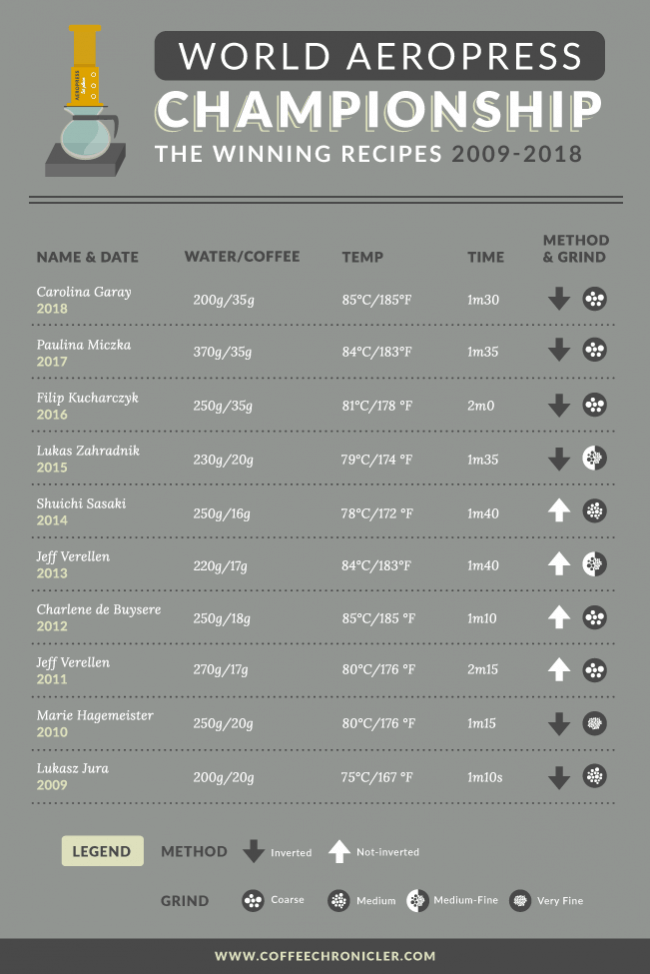
Most brew methods usually excel at a ratio between 1:15 and 1:18. However, Aeropress coffee is rather unique in this regard. When you look closely at the winning recipes, you’ll see that they are all rather concentrated compared to traditional coffee brewing methods. (source)
The winner of the 2018 W.A.C, Carolina Garay from Colombia, used a whopping 1:5,7 ratio. That’s closer to espresso than regular black filter coffee!
On average the winning ratio is 1:11,5. This has often been combined with a very coarse grind size; especially in recent years.
While I’m sure that this tastes great, personally, I would quickly get ruined, if I were to use brew ratios like that on a daily basis. So it might be worth remembering that a competition scenario is something completely different from everyday coffee drinking.
You can compare it to the difference between being a bicyclist and a Tour de France competitor. You don’t necessarily need blood doping and a $15K bike to get a good result as a hobbyist.
👉 Go Deeper: 5 Essential AeroPress Recipes
how to use an aeropress
Another pattern that jumps out immediately when studying all the past champions is that the water temperature is rather low.
On average, the winning temperature is 177 °F/80 °C. For years the official recommendation from the SCA has been 200 °F/93°C (source).
There are different theories as to why a lower temperature might be better.
One states that certain compounds extract at around 177 °F, while more bitter and less desirable ones extract closer to a boil
A very simple and down to earth explanation; however, is that using a low temperature makes it possible to enjoy the cup sooner rather than later.
On the other hand, the respected coffee innovator and former World Brewers Cup winner Matt Perger has long been an advocate of using boiling water. He argues that this ensures the best possible extraction. It’s also straightforward and consistent doing every time, compared to using a thermometer.
But overall, we will have to say that the jury is still out on the perfect water temperature. There is plenty of anecdotal evidence pointing to everything from 175- 205 °F. In the end, it’s probably more down to personal taste than anything else.
One caveat that I should add, is that the low temperature at the W.A.C. should also be seen in relation the the unusually high brew ratios. It’s likely that these two parameters should go hand in hand.

Jeff Verellen
W.A.C. Winner 2011 & 2013
finding the Best Aeropress method
“Initially, the way to get to the recipe was classic trial and error. Kaizen way of improvement: Every morning 2 Aeropresses, 1 ‘best’ method a standard, and 1 challenging method, if the challenging method was better than that one would be the next days ‘’best’’ method.
There are many variables to play with to make a challenging method: grind, ratio, water, temperature, time.
A few things will always improve a coffee; picking out bean defects, using better water, using a better grinder, sieving the fines, not pressing all the way through (the Ketel one technique) so that’s a given to improve these to the fullest.” (Source)
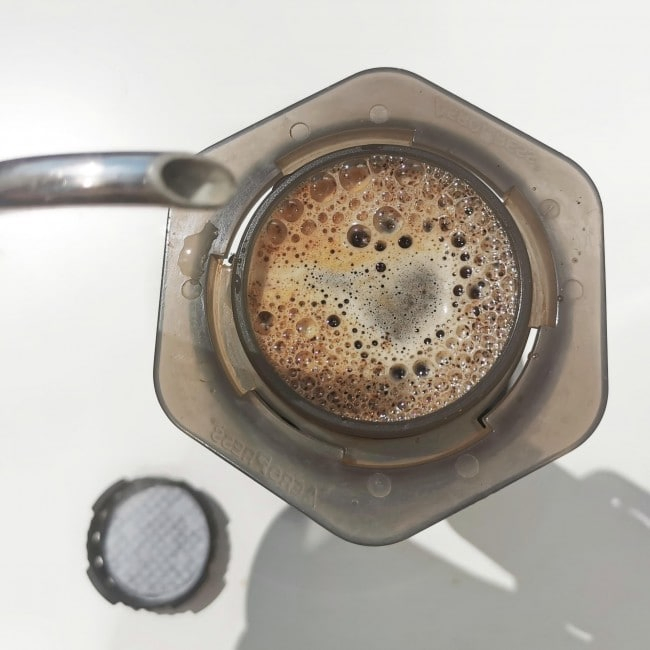
THE PAPER FILTER IS A TROOPER
One of the interesting things about the plastic pump is that it lets users to change and tweak many small things compared to more conventional brewing devices.
For instance, there are quite a few companies that produce special filters made out of different metals.
Some people also like to experiment with using two paper filters for extra cup clarity. But in fact, every single winner of the W.A.C. have opted for a single, traditional paper filter.
When it comes to the position of the brewer, it’s hard to make any firm conclusions.
The first two winners used the inverted method, then followed four consecutive upright champions, and now the last four have been inverted.

ADVANCED AEROPRESS INSTRUCTIONS & Directions
So is that all there is to having fun with the Aeropress? Of course not…
What makes this device so cool is that it’s one of the best coffee makers available today, but at the same time it’s almost a toy.
In this section, I’ll introduce you to a few cool ways to get more out of your device.
These might not be championship-winning Aeropress recipes like the ones in the previous chapter, but if you follow the instructions, you’ll get both tasty coffee and reactions on Instagram.
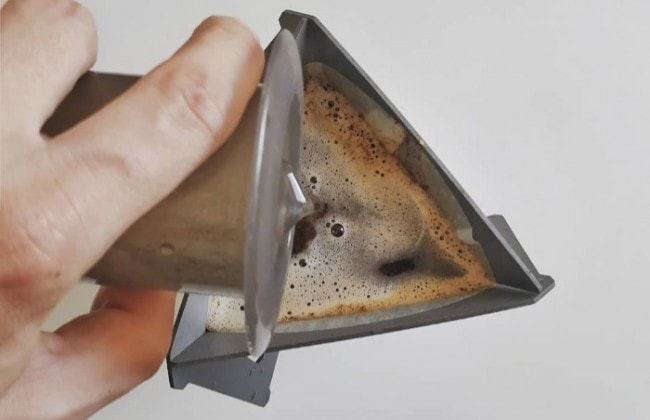
big batches
One of the most common complaints I hear about this brewing device, is that it can only make a single cup at a time.
Recently, however, I came up with a technique that let’s you brew big batches without compromising the taste.
The method is relatively simple, and you probably just need to watch this handy little video to grasp the basics.
I should mention that it’s a lot easier to use this method if you have one of the newer models. Aerobie switched to a different silicone material on the rubber gasket a few years back, which makes it more ‘slippery’ and easier to maneuver in the way that’s essential to pull off this technique.
If you want more directions plus tips and tricks, then check out this post as well.
- Use 26 grams of coffee to 400 grams of water
(scale the recipe down to 23 grams/350 grams, if you’re using the smaller Aeropress Go, as I am doing in the video) - Add 60 grams of water and shake to allow blooming. Wait 30 seconds.
- Then add 140 grams of water.
- Press down the plunger one inch. Then twist it to the side and remove it.
- Insert it again and press down one inch.
- Keep going until there’s no more water left.
- Pour 200 grams of water into the empty chamber. Insert plunger and pull slightly upwards in order to create a vacuum seal. Wait 1 minute.
- Plunge slowly — it should take 45-60 seconds.
- Enjoy! Now you have enough coffee for two people.
Aeropress cold brew
Have you ever tried making cold brew with a normal pour over filter? No? Well, I’ll save you for a lot of trouble and tell you to not even try it!
When making cold brew, water and coffee grounds are usually in contact for 12 to 36 hours. This gives the fines plenty of time to soak up water. That’s why it’s so hard to pass through a filter. If you pour it into a V60 it’ll clog almost instantly.
This compact coffee maker is a lifesaver, when it comes to cold brew.
Because of the air pressure you can actually filter it pretty easily, leaving you with a nice and balanced cold brew in no time.
- Add 35 grams of coffee to 500 grams of water in a bottle.
- Leave on the counter top for 5-10 hours.
- Keep in the fridge over night.
- Pour the slurry into the Aeropress, normal position. (You can use either a paper or metal filter, depending on your preference).
- Plunge over ice cubes. (Rinse and repeat, if you have more mixture left).
Aeropress ESPRESSO
Even though Aeropress today is widely considered a black coffee brewing device – comparable to the French press or filter coffee – there has always been an aura of espresso somewhere in the mix.
The connection between the two seems obvious — at least at first glance. Both devices utilize pressure. But while the famous 9 bars are an essential part of how the best espresso machines operate, the pressure of the AeroPress is rather a way to separate brewed coffee from the grounds.
However, today there are a few gadgets that can help you make espresso with an AeroPress. Check out my article, where I compare the Prismo, JoePresso and several other techniques.
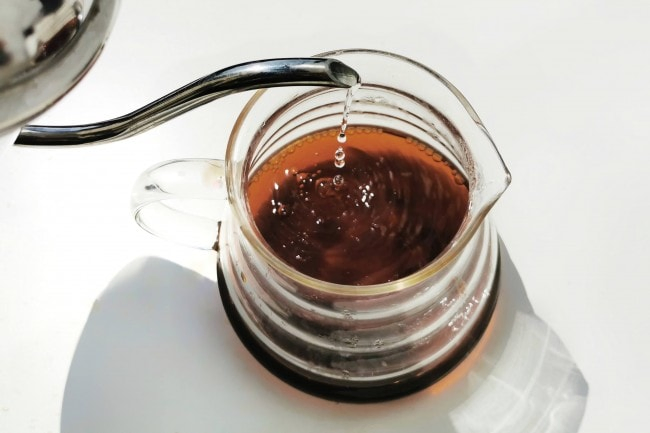
Diy gooseneck kettle
Here’s a nice little travel hack: Use the inside of the plunger if you don’t have a gooseneck kettle.
If you fill it almost to the top (minus 1 cm) you have exactly 200 ml of water. That’s handy if you don’t have a scale.
The flow control is way better than a regular electric kettle.
Actually, Alan Adler, intended the plunger to be used as a measuring device. That’s why there were markings on the first versions of the contraption, however, he realized that most people never used it, so eventually, Aerobie did away with them.
However, if you’re in a situation where you don’t have access to a gooseneck kettle, and want to make a pour over, just your plunger. It’s practically made for it.
the long brew
Oldschool Aero-brewing has always advocated short brew times. But what if I told you that you can actually break the rules and get great coffee while doing it?
I call this way of brewing ‘the long brew’ and the approach is closer to cupping rather than normal aero-methodology.
There are several reasons I like the long and slow brew. First of all, it can really bring out some unexpected and tasty flavors. Especially with beans that for some reason lack sweetness. Some aroma compounds take longer time to extract, so by increasing the brew time you get more body and more caramelized sugars.
Another benefit of this recipe is that you can increase your brew ratio up to 1:18. This means that you get the same amount of brewed coffee using fewer beans. So it’s actually less wasteful and at the same time you save a bit of cash. What’s not to like?
Aeropress coffee recipe
- Put the brewer in the inverted position and add 14 grams of coarsely ground coffee.
(Pro Tip: It’s important to use the best burr coffee grinder you can get your hands on!) - Slowly pour 250 grams of 200 °F water.
- Rinse paper filter and put it in the cap. Attach the cap and wait four minutes.
- When the four minutes are over stir 5 times, and let the crust break. Put cap back on.
- Wait 8 minutes. Invert and plunge slowly.
- Enjoy your slow brew.
aeropress COFFEE on a plane
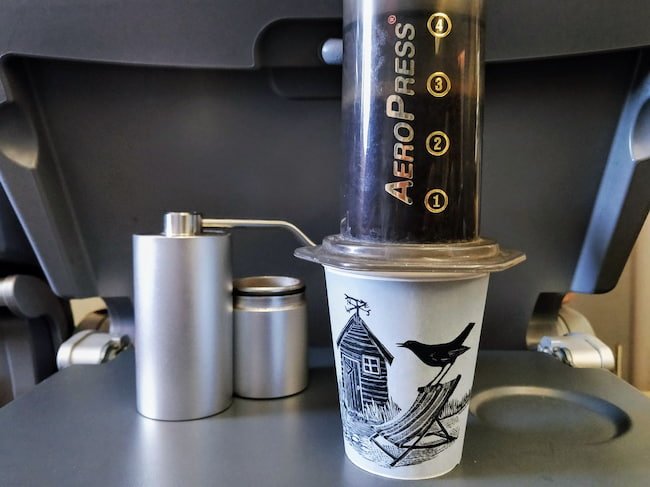
As mentioned in the introduction, the device has found a very unexpected fan base: frequent travelers with a penchant for coffee!
This group is called the #milehighaeropressclub on Instagram. Initially, the idea was to brew your own on the plane instead of succumbing to horrible airline coffee. But gradually it has become a ‘thing.’ Slightly more awesome than the ice bucket challenge but not quite as cool as running with the bulls in Pamplona.
You can’t really give a recipe for how to use an Aeropress on a plane. It’s more like you need the right mindset and a bit of guidance.
Just have the equipment ready in your hand luggage, so it’s easy to get out once you’re in the air. Ask the cabin crew for cup of hot water. Usually, they will give you one for free.
Remember, that you will have to brew inverted since you have to press into the same cup that your water is served in.
I have tried it a few times, and it’s easier than V60’ing on a plane. Still, it’s a bit of hassle, and you are sure to get some weird looks.
the most common Aeropress mistakes
So far we have been talking a lot about the upsides of this remarkable brewer. Now, let me focus on some of the cons. As mentioned in the introduction a lot of home baristas (as well as pros) actually have a hard time getting delicious coffee out of the device.
I have often had friends confess to me that they rarely use the brewer and that pour over coffee consistently tastes btter.
With that in mind, here are some typical mistakes the burgeoning Aero-barista might commit and how to fix them.
#1: PLUNGE GENTLY
As mentioned above, the Aeropress and the espresso have always had some kind of mythical connection in peoples mind. Maybe because of the names, or maybe because they both utilize pressure in some way.
Somehow a lot of home baristas think that pressure is the key to a proper brew. For that reason they will lean on the plunger with all their weight and pump like madmen.
However, the truth is that the air pressure isn’t an important part of the brew; it’s just a handy way to separate liquid and the puck.
By exerting full full force when brewing, you actually ruin your coffee. Coffee brewed this way often has a weird, almost one-dimensional flavor.
What you should do instead, is to put gentle pressure on the plunger.
For the cleanest flavor, it should take close to a minute to press the plunger all the way to the bottom. This sentiment is also shared by many other connoisseurs. Even Alan Adler brews this way.
#2: MIX, AERATE & COOL DOWN
This tip might sound simple, but it’s a crucial step in making a delicious cup every single time.
If you’re pressing the Aero directly into a preheated mug, a lot of things can and will go wrong.
- Black coffee should be brewed around 200 °F (93 °C), but it should be served and consumed around 140 °F (55 °C).
- Furthermore, it should be mixed and aerated slightly to let all the aroma compounds blend nicely.
- All the above things will happen automatically if you brew into a carafe or range server and swirl it around a couple of times.
On the other hand, if you brew into a pre-heated mug, like a lot of wanna-be baristas tend to do, then your brew will be subpar.
It will be way too hot to drink right away. And most of the aroma compounds will float around in the bottom of the cup.
It’s a little bit controversial, but some of the most knowledgeable people in the coffee business also claim that coffee should be aerated to live up to its full potential. Almost like wine.
In my opinion, aeration is a crucial step of manual brewing.
#3: USE THE RIGHT WATER
A lot can be said about water and coffee. There are even books and scientific papers dedicated to this topic.
Water is what often separates a good cup of home-brewed coffee from a world-class cup in a third-wave coffee shop.
This is one of the most challenging parts to get right, though. On the surface, all water pretty much looks the same. So you need knowledge or perhaps even special equipment to get it right.
But for now let me give you some brief advice: Avoid tap water. Most people on this planet, don’t have tap water suitable for coffee brewing. (This is true even if the water tastes good).
Instead, use relatively soft water like Volvic or use reverse osmosis water in conjunction with added minerals from the company Third Wave Water.
Ideally, you want to use water that has a TDS between 70 and 140 with equal amounts of calcium and magnesium.
If you want to invest time and effort, try my recipe for perfect brew water.

#4: USE TWO FILTERS
Brewing with a single AeroPress filter isn’t really an error per se – after all, it’s what all the world champions do.
Still, I have to say that I often get better results using two filters instead of a single one.
If you’re into pour over like Hario V60 and Kalita Wave, then you should definitely try this little hack. It tends to make the cup more balanced and clean, while also promoting sparkling acidity.
Just put both filters into the cap, rinse, and brew like you’d normally do. If you want, you can wash the filters off after use and recycle up to 3 times. Just treat them as one entity, when washing and let them dry inside the filter cap to retain shape.
#5: CLEANING
This is another common error that is caused by old-school Aero-propaganda.
“This device doesn’t need cleaning – just press the plunger, and shoot the puck into a bin,” the instruction claims.
Yeah, right – The Coffee Chronicler doesn’t quite agree.
Let me tell you this frankly. If this is the only kind of cleaning you do, your coffee is going to taste awful within a month or two.
Once in a while, give your device a nice bath in hot water and baking soda. Make sure to take off the rubber gasket too.
It is removable, but many people have no clue. A lot of nasty oils will gather in the crevices if left to themselves and that will impact the flavor.
Don’t trust the sneaky coffee salesman on this one. It’s a cool brewer, but like all other items in your kitchen, it needs cleaning once in a while.
Let me repeat: Remember to take the gasket off every two weeks for a thorough cleaning!
#6 Too much faith in the AeroPress Scoop Size
When it comes to making the perfect cup of coffee, there are a lot of variables to consider.
One often overlooked factor is scoop size.
The Aeropress comes with a scoop that holds approximately 11.5 grams of coffee. A heaping scoop holds around 14 grams.
This may seem like a lot, but depending on the amount of water you use, it can actually create a pretty weak cup.
Let’s say you use 200 grams of coffee to either of these two scoop volumes. That will either put you at a 1:14 or 1:17,4 ratio. If you know anything about coffee, you know that this will create two extremely different brews.
So if you’re looking to get the most out of your Aeropress, be sure to use a digital scale instead of the included scoop. It’s just not a reliable way to produce tasty coffee.
OVER TO YOU
If you have read all the way to the end, you already know a lot about this fantastic brewing device. I encourage you to experiment and test every little piece of advice. Keep what you like and discard the rest.
In the end, you can brew Aeropress in any way you like – the most important thing is that you enjoy it.
The inventor of this brewer made toys before he got into coffee, with that in mind I think we should always focus on the playful aspect of the brewer.
FAQ
It can make some strong and concentrated shots that will satisfy many people, however, it cannot make genuine espresso. The pressure is not anywhere near 9 bars. You can invest in the special Prismo cap if you want to make something a bit more like espresso.
Yes, it’s made with polypropylene, which is considered safe and PBA-free.
Both yes and no. In general, it’s not that easy to make a truly magnificent cup of coffee with this device. The kind of cup that rivals the best of pour overs is hard to achieve. However, when you become an advanced AeroBarista, you can make some outstanding cups.
The AeroPress is a lot more versatile than the French press. You can brew all kinds of coffee with it due to its unusual design. Is it also better? As a coffee professional, I will have to say “yes”. The design of the contraption lets you have a lot more control over the brewing process, but this is also the reason that it can be difficult to use properly.
