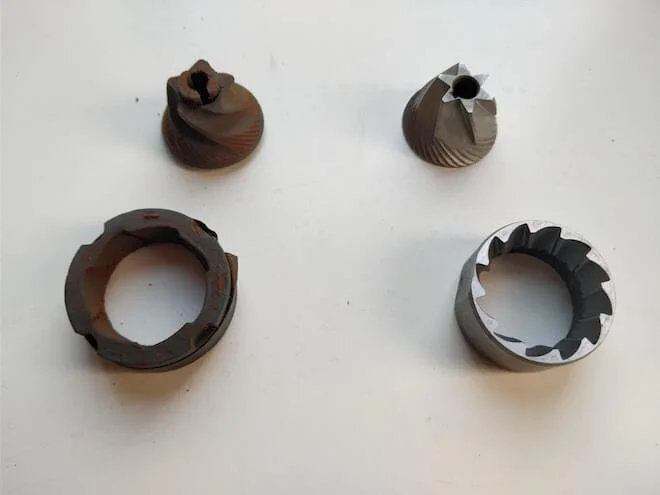
You don’t want a dirty coffee grinder.
Leftover stale grounds can give you foul-tasting notes in the cup. And poor grinder maintenance can even lead to technical problems down the line.
However, some people also fall into the opposite trap and clean their grinders too frequently.
They develop “grinder OCD” 🤓
Cleaning coffee grinders is something that’s often either overlooked or misunderstood. This article will show you how to do it the proper way.
What is the best way to clean a burr coffee grinder?
Coffee grinders come in all shapes and sizes. For that reason, they don’t all require the same level of cleaning and maintenance.
This is ultra-important to stress!
You can’t compare an espresso grinder in a coffee shop preparing 100 shots with your domestic hand grinder.
So a professional might say that cleaning every day is a necessity, but it might not apply to your grinder.
Also, there are different reasons and occasions for cleaning.
- Everyday cleaning and upkeep: In this scenario you want to avoid getting old grinds mixed with your freshly ground coffee. This is actully not that difficult. Focus on the burrs, chute and catch cup.
- Deep cleaning: This is where you take the grinder apart and clean out old coffee built-up. This coffee is stuck in nook and crannies. It will not be “exchanged” in your next brew.
In the following sections, I’ll explain what you need to know to give your particular model the proper care it needs.
Tools needed:
- Soft brush
- Dust blower (the same type you use for a camera lens)
- Paper tissue
- Screwdriver (Usually not needed for daily cleaning)
- Vacuum cleaner (Useful for electric grinders)
Pro tip 💡: Use water with caution when cleaning a grinder! As a rule of thumb only wash plastic parts.
Manual coffee grinder cleaning:
Daily maintenance:
People often ask me how to clean their manual grinders, and I usually tell them to take it easy and avoid overdoing it.
You don’t have to disassemble it thoroughly every time you clean it. Instead, you can get by with a more quick and superficial cleaning.
This is due to how most hand grinders are constructed and engineered. Because there’s only a tiny bit of retention, essentially, the coffee mill is self-cleaning. So every time you grind, new beans will help push out any leftover particles from the last batch.
Additionally, by using a brush or/and a dust blower around the burrs, you can do a daily/weekly cleaning which will be sufficient.
If you clean the grinds jar well daily or weekly and mostly grind lighter roasts for filter coffee, you don’t need much more maintenance than that.
You can clean the catch jar by using either a paper towel or hot running water if the materials allow it (plastic, yes. Aluminum, no).
Deep cleaning:
You should take the grinder apart partially every 3-6 months and use a dust blower soft brush.
It might be enough to remove the inner burr (spinning burr) and handle, depending on the model. You’ll still be able to get proper access to the grinding chamber.
Are you cleaning too frequently? 🤔
Since grinders are precision-engineered instruments, you don’t want to create more problems than necessary by taking the grinder apart too frequently and running the risk of exposing bearings or threading to ultra-fine coffee particles for no good reason. For that reason, I’m a big fan of just doing the bare minimum.
Also, grinders can be difficult to assemble and calibrate correctly. So make sure that you don’t make mistakes when putting it back together.

Electric grinder cleaning
Electric grinder cleaning is more important, especially if we’re talking about espresso grinders.
It also tends to be a lot more complex. This is due to electric grinders typically having more nooks and crannies compared to hand grinders. Also, there’s a motor spinning at a very high RPM, which can cause additional problems with coffee grounds stuck in odd places.
Daily maintenance:
Electric grinders tend to have a longer chute and a larger grind chamber where all coffee hasn’t been purged. There is also a catch cup, which can sometimes be a magnet for leftover fines.
When it comes to daily maintenance and cleaning, these are the areas to focus on.
Depending on the design or material of the catch cup, you can wipe it off with a paper towel or wash it with warm water.
For the grind chamber and chute, you can sometimes get a lot of leftover grounds out with a little shake or a narrow brush. Some new grinders also come with a set of bellows, which can blow out any retained coffee grounds.
Depending on how often you use your grinder, you’ll also need to do a deep cleaning once in a while. Every two-three months is probably a good compromise.
Deep cleaning / Disassembling an electric grinder:
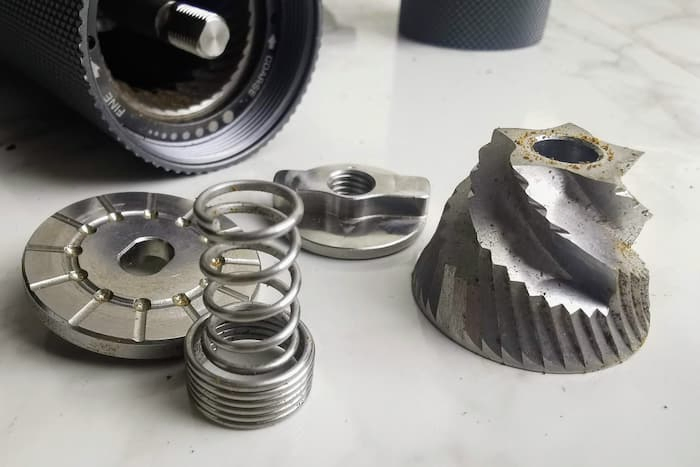
The first thing you need to know when taking apart a grinder is its type. If you haven’t already figured this out, look up the model online and learn how to do it. Be careful! It’s easy to cause accidental damage, so take it slow the first time you do it.
In my opinion, you don’t have to take everything apart. Just start with the hopper and upper burr. Then you can clean out the grinding chamber where there will be a lot of grounds stuck. Here it can be very useful to use a vacuum cleaner with a slim nozzle.
If you’re feeling ambitious, then you can disassemble the burrs. However, in my opinion, you don’t have to.
Also, make sure to clean out the exit chute properly.
Grinder Cleaning Pellets
You can get special pellets made for cleaning grinders. The Grindz brand comes highly recommended. I don’t think they are necessary most of the time.
However, they can be valuable if you need to get down into some nooks and crannies that may be hard to reach otherwise. If you have an old-school Italian burr coffee grinder that is harder to disassemble, grinder cleaning pellets might be convenient.
However, I don’t think they are necessary for modern low retention grinders such as the DF64 or Baratza Sette.
Rice for cleaning or seasoning?
Rice has sometimes been recommended to clean coffee grinders instead of pellets. However, I wouldn’t recommend it. First of all, I’m not a big fan of using pellets for cleaning in the first place.
Second, rice isn’t cleaning the grinder. Sure, it will help to remove any leftover coffee. But now you will be stuck with rice leftovers instead! That is going to be even worse compared to old coffee beans.
However, there is one occasion where I think rice makes sense. And that is for cleaning/seasoning when you get a brand new coffee grinder.
When the grinder comes straight from the factory, there can be some oil residue in hard-to-reach places. So you want to run something through it—either some old, stale coffee beans, pellets, or even rice.
At this stage, the burrs can also be ultra-sharp, which can cause an excessive amount of fines. Seasoning the burrs refer to making them a bit duller while also covering them in layers of coffee oil.
Using rice makes sense as a first step when seasoning a new flat burr grinder. You can run everything from 250 grams to several kilos of rice through the grinder. Take it slow and grind it in a medium-coarse setting. Rice is dense, and you don’t want to put too much stress on the motor. Grind 50 grams at a time, then take a little break. After the rice-seasoning, you also want to use some dark roasted beans that can help to coat the burrs with coffee oils.
Conclusion
If you want tasty coffee with no hints of stale coffee, you should often give your grinder a light cleaning.
Of course, you should also do a deep cleaning now and then, but how often will depend on the grinder model and the use case. For example, a few times every day, grinding lightly roasted beans with a manual grinder is not the same as grinding oily beans a hundred times a day in a coffee shop setting.
FAQ
I know it’s a boring answer, but I have to say it depends. A manual grinder needs less cleaning than a commercial espresso grinder. Read the whole article for a deeper explanation.
Yes and no. Rice can be useful for cleaning and seasoning a new grinder, but it’s not recommended for regular maintenance or deep cleaning. Rice is better for burr seasoning.
It’s essential to read the instructions carefully so you don’t cause accidental damage to the grinder. Read the instructions and watch disassemble tutorials online before cleaning the grinder for the first time. Then remove the hopper and proceed with a soft brush and a dust blower. Read the whole article above for a deeper explanation.
A burr grinder can last for decades if it’s from a quality brand and you take good care of it. Also, remember that burrs can be replaced if they become too dull or damaged. This will give new life to any grinder.
