
Tamping isn’t a mysterious act that only coffee lifers and esoteric baristas are able to grasp.
Tamping doesn’t have to be that complicated. It’s simply the act of compressing finely ground coffee that is held within a portafilter.
In this article I’ll dive into all the small (but important!) details and tell you what you need to know about tamping.
How much tamping pressure?
There are plenty of opinions and advice on how much pressure should be applied when tamping. However, here is a general rule of thumb worth following: Just press until the tamper isn’t going any further. Once the grounds are fully compressed, further pressure doesn’t move the needle.
Another way to think about it is to tamp until the coffee pushes back.
Some people will mention a specific amount of pressure as ideal for tamping. Somewhere between 20-30 lbs is often quoted. You can use a scale and tamp on it for practice. However, it shouldn’t be necessary if you just follow the advice above.
Form and consistency
Coffee is ultimately about enjoyment. You don’t want to get an injury simply by tamping. Whether you’re a home barista or a professional, you should tamp in a way that you can sustain over time.
I cannot stress enough how important it is to have proper form. Just apply a sufficient amount of pressure to the tamp and be mindful of the wear that can occur to your joints over time.
I have worked as a barista for almost three years, and I can already recognize a difference in my wrist. I use the same wrist for tamping and putting the portafilter in the group head. At this point, I have pulled thousands of espresso shots, and there are some days that I have to “warm-up” my wrist because it is so tight from the day before.
I have learned to let my tamp do its job and not apply pressure past what is needed.
Learn More: The Best Tampers for Home Baristas
Tamping and grind size
Another critical element that will help you apply pressure during the tamp is the grind size of the coffee. Most people know that coffee used for espresso needs to be finely ground. However, when dialing in a shot it can be a good idea to use the grind adjustment instead of your wrist.
If you are tamping to a point where pain occurs in your wrist/shoulder, you should probably grind a bit finer. This will slow down the shot a little bit and you don’t have to compromise on proper form.
Conversely, if you are tamping and it is as if you applied little to no pressure, you might want to coarsen your grind or use less coffee; because there might be too much in the portafilter basket.
Step by step guide to tamping
1. Distribution
Once the coffee has been ground and placed into your portafilter basket, it must be distributed. There are a couple of different ways to distribute coffee evenly. I was trained to do and still enjoy performing is a “horizontal settle” followed by a “vertical settle.”
A horizontal settle is done by using the inner wrist to “knock” the side of the portafilter. All it takes is two to three knocks. Also, depending on how the coffee was placed into the basket, you can tilt the portafilter towards the direction where there is less coffee. The angle allows more coffee to head into that space when you knock the portafilter. Once the coffee looks evenly distributed horizontally, you can perform the vertical settle.
The vertical settle is done by tapping the portafilter on the counter you are using, typically with a rubber pad accompanying it. It does not have to be hard, but the force of the downward motion will lightly compact the coffee so that there will be less pressure needed when you tamp.
2. Proper form
To have proper form in holding a tamp, it is good practice to place the handle in the palm of your hand while having your thumb and index finger resting at the sides of the tamp. When you go to tamp, make sure the tamp is level over the coffee. One indicator of having a level tamp is that your thumb and index fingers will hit the top of the basket simultaneously. As for the rest of your body, you need to keep your wrist straight and have your elbow at a ninety-degree angle to save your wrist and shoulder.
(Caution: I have had a couple of barista friends use bad form and eventually have to use a wrist guard while on shift)
3. Apply pressure
When applying pressure, make sure that the weight of your tamp is hitting the center of the handle on your tamp.
4. Check for a level surface
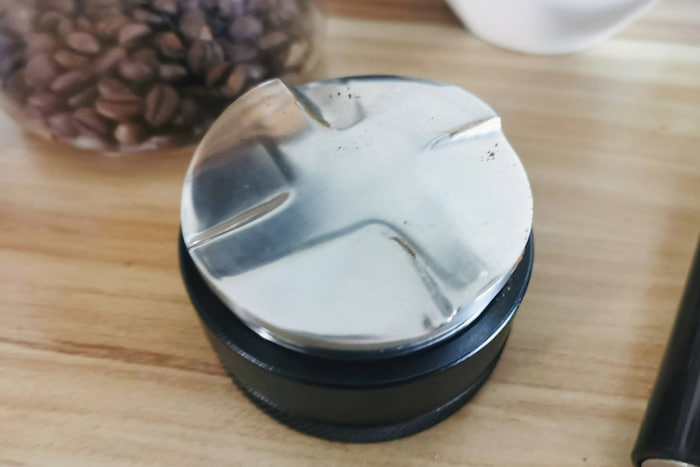
Previously I mentioned that one indicator of a level tamp is that your thumb and index fingers will hit the top of the portafilter basket simultaneously. Once you remove the tamp, you can see if the coffee has a uniform plane. Some baskets have a notch in them, and that is a great help because then you can see if the coffee is equidistant in relation to that notch all around the basket.
5. Pull shot & Evaluate
Once you start pulling your shot of espresso, you will be able to tell how well you tamped from a variety of factors. You have to pay attention to any channeling. Channeling occurs when pressurized water finds areas inside the portafilter that offer less resistance. That pathway can cause water to spray and spit from the portafilter basket.
The drop time of the espresso is another good indicator of a successful tamp. Drop time is the length of time from when you start your shot of espresso to when it starts to flow in a steady stream. Typically a good drop time is seven to nine seconds. In bottomless portafilters, you will have three to four big “drips,” and then the espresso should pool to the center and steadily pull until finished. In portafilters with spouts, the espresso should flow from the two ends simultaneously.
If your espresso shot is channeling or the drop time is off, that means the coffee was not distributed properly, therefore leaving it not level, or the pressure of your tamp is off.
Dos And Don’ts
- Do: Avoid shoulder and wrist injuries by practicing good form right from the start. Have an experienced barista help you. You can fix bad form, but you may not be able to fix any injury from that initial bad form.
- In my opinion, do not do a second tamp, regardless of the situation. A second tamp is usually done to finalize a first tamp. A slight amount of pressure is applied in that first tamp to create a level distribution. Then in the second tamp, you use the last amount to compact the coffee into a puck.
I advise avoiding doing that for a couple of reasons. Sure, a first tamp could help you create a level plane, but if you go back in a second time, you could misapply pressure and cause the distribution to be completely uneven.
Also, depending on the age and roast of the beans, the coffee could exhibit oils that can stick to the base of the tamp after the second time. If that occurs, that will mess up the dosage for your recipe and mess up the distribution of the coffee in the portafilter.
- Polishing is when you spin the tamp after applying pressure to your puck. I would avoid it altogether unless you are an experienced barista who wants to test the taste differences in espresso. Even if you’re going to do that with plenty of experience, it has to be a highly controlled experiment where you are using the same coffee, grind, and recipe for the coffee so that you can note the differences.
- Nutation performs a tornado-like motion on the tamp while applying downward pressure. Please do not do this. The goal of this is to get rid of all the space and air pockets in the coffee being used. This will only lead to over-extracted espresso that will be causing you to make other adjustments to your coffee and equipment that could be easily solved by not nutating.
- If you have an espresso machine with two or more group heads, you should invest in precision baskets. Precision baskets will provide consistency which is vital if you are insistent on having espresso pull the same each time. A precision basket isn’t essential if you have an espresso machine at home with one group-head, but it is an excellent addition.
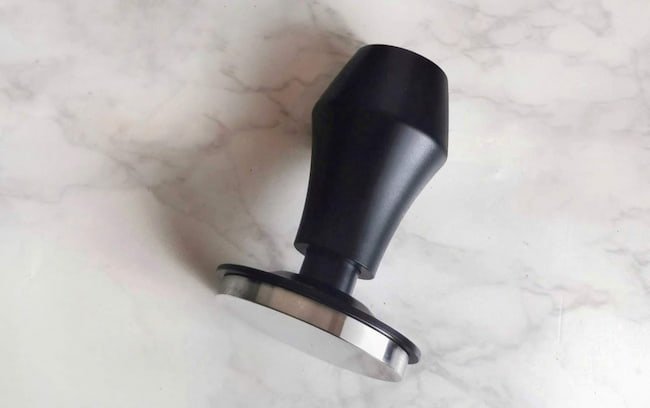
- Precision tamps, also known as palm tamps, might be worth looking into. I recommend them if you are new to pulling espresso or have any wrist injuries. Palm tampers allow you to evenly apply pressure across the coffee to compress it into a puck, and some even allow you to adjust their depth as to how far down it will reach into the portafilter basket. However, if you want to add a bit of flair to your craft, it is pretty fun to work with an old-school tamp. Excuse me for being an old head; I prefer to use OG tamps.
What about levelers and calibrated tampers?
Levelers, also known as coffee distributors, have been created to make tamping much more efficient and consistent. A coffee distributor will sit on top of the basket, and as you turn it, it will evenly disperse the coffee. With distributors, you have to be careful. Its job is not to replace a tamp. I have worked with distributors that were quite heavy and have sat too low in the basket, causing it to act as a tamp. In theory, it sounds like it works, but if the amount of coffee you are using changes yet the distributor may have a set depth which will cause tamping to be wildly inconsistent.

Comment from Asser: I agree with Noah here, but I will have to say that as a home user, it can work very well, to use a leveler instead of a tamper. It requires, as Noah mentions, that you use the same dose every time, otherwise it’s impossible to get the height of the leveler set right.
I use a special technique where the leveler is set quite deep.
- First you place the leveler on top of the basket and spin the right way. This will smooth out the surface.
- Then you do half a spin the “wrong way” while adding a little bit of pressure to the tool.
- Finally, you press down while spinning the right way. If you’re able to nail this technique it will result in a very consistent pull.
Calibrated tampers may also be an avenue you take when looking at the equipment you would like to have. Calibrated tampers have a handle that is separate from the base of the tamp. When pressure is applied, the base and handle will connect and click. These tools are excellent for providing consistent pressure.
FAQ
Tamping too hard or too lightly can cause your espresso to be over or under-extracted. So, yes, you can tamp too hard, but you won’t push coffee past its maximum density once it has been reached.
It is commonly said to use anywhere from 15-30lbs of pressure. Since everybody tends to apply a different amount, apply pressure until the tamp doesn’t go down any further, and the coffee begins to “push back,” in a sense.
You will be left with an under-extracted, watery espresso shot. Also, channeling will occur, causing water and espresso to spit and spray out of the group-head and portafilter.
Yes. Tamping pressure is a part of the definition of displaying your ability to pull great espresso shots consistently. It is a part of the coffee-making craft that needs to be honed.
